
Here we will show you how to build perfectly seamless tiles or tessellations in Adobe Illustrator. This is a great way to showcase logos for clients and especially to apply logos to packaging and presentations such as trade booth walls or table wraps.
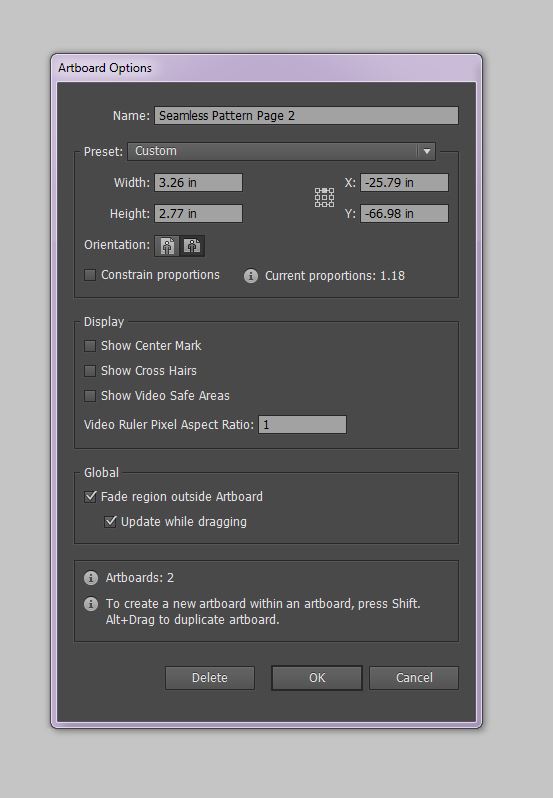
ART-BOARD DIMENSIONS
3.26 Wide x 2.77 High VERY IMPORTANT
This is important. The dimensions of your art-board will be the amounts you will move your objects by.
** All images below can be right-clicked and viewed or saved separately in order to see them more clearly.)
Using Adobe Illustrator:
Before you start:
Make sure that all the elements (skulls in this case) you are going to use in your tile are colored using “Global” color fills. This way when you want to change the color of one skull, its matching counterpart changes with it. I have also used a global colour for the black details.

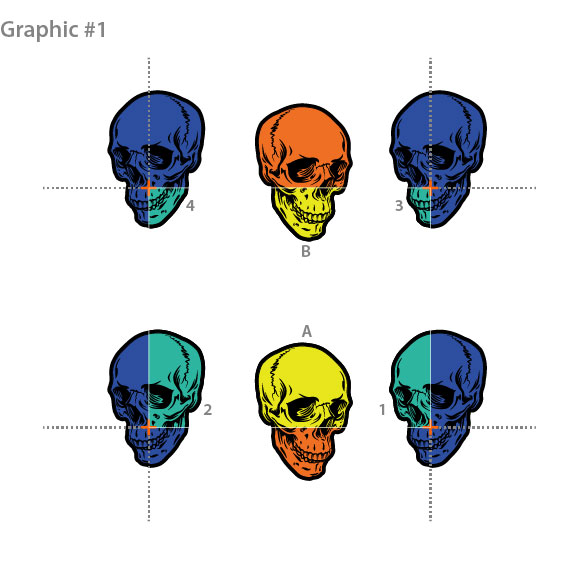
The objective of the first steps is to create the “border”. Meaning any object that goes over the edge of the art-board on the left will have to be continued on the right side of the art-board (which, when tiled, will appear as a seamless continuation of that element). The right-hand side of the skull appears on the left side of the art-board, and the left-hand side of that same skull appears on the right side of the artboard.
Pick one skull to look at and note that the borderline bisects the skull in the exact same place on both the left and right (or top and bottom) instances of the skulls.
I Start With The Corners.
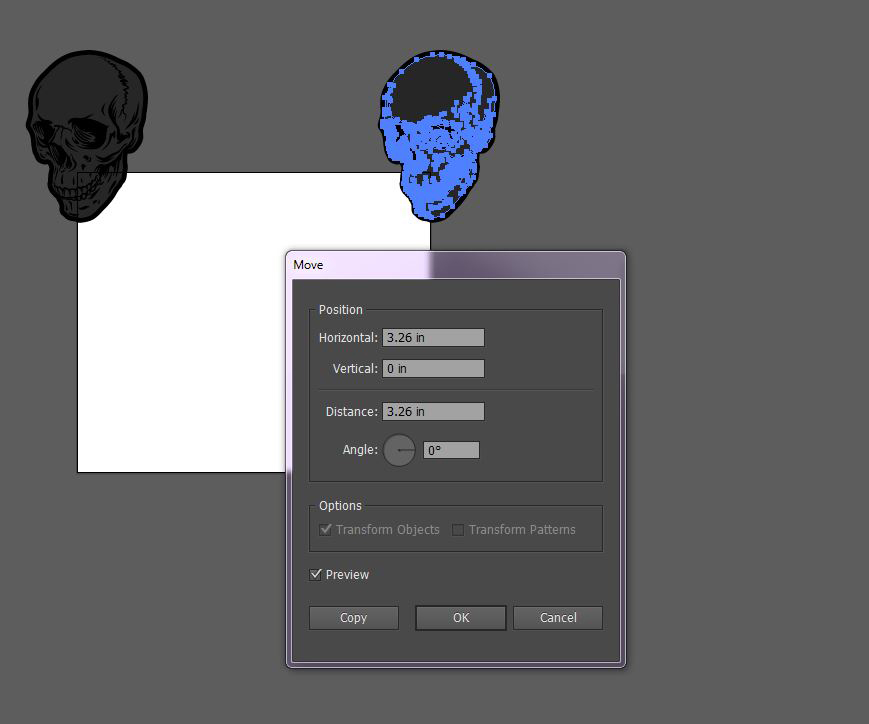
I like to start with the corners, so let’s start by dragging a skull to the top left corner.
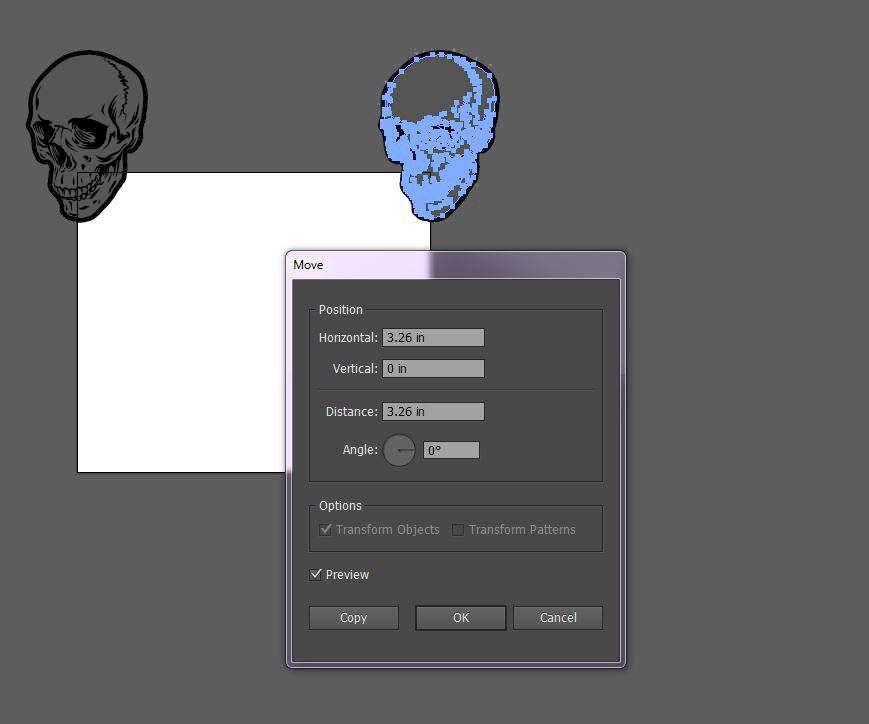
Once you’ve got the first skull placed in the corner, select the skull and copy and paste in place using:
Ctrl C (copy)
Ctrl Shift V (paste in place)
Then move it using the Transform features:
Ctrl Shift M (Object/Transform/Move)
Move it HORIZONTALLY 3.26” (Same as the width of art-board). THIS IS VERY IMPORTANT
Now group these two objects. (See graphic below.)
Now group these two objects. (See graphic below.)
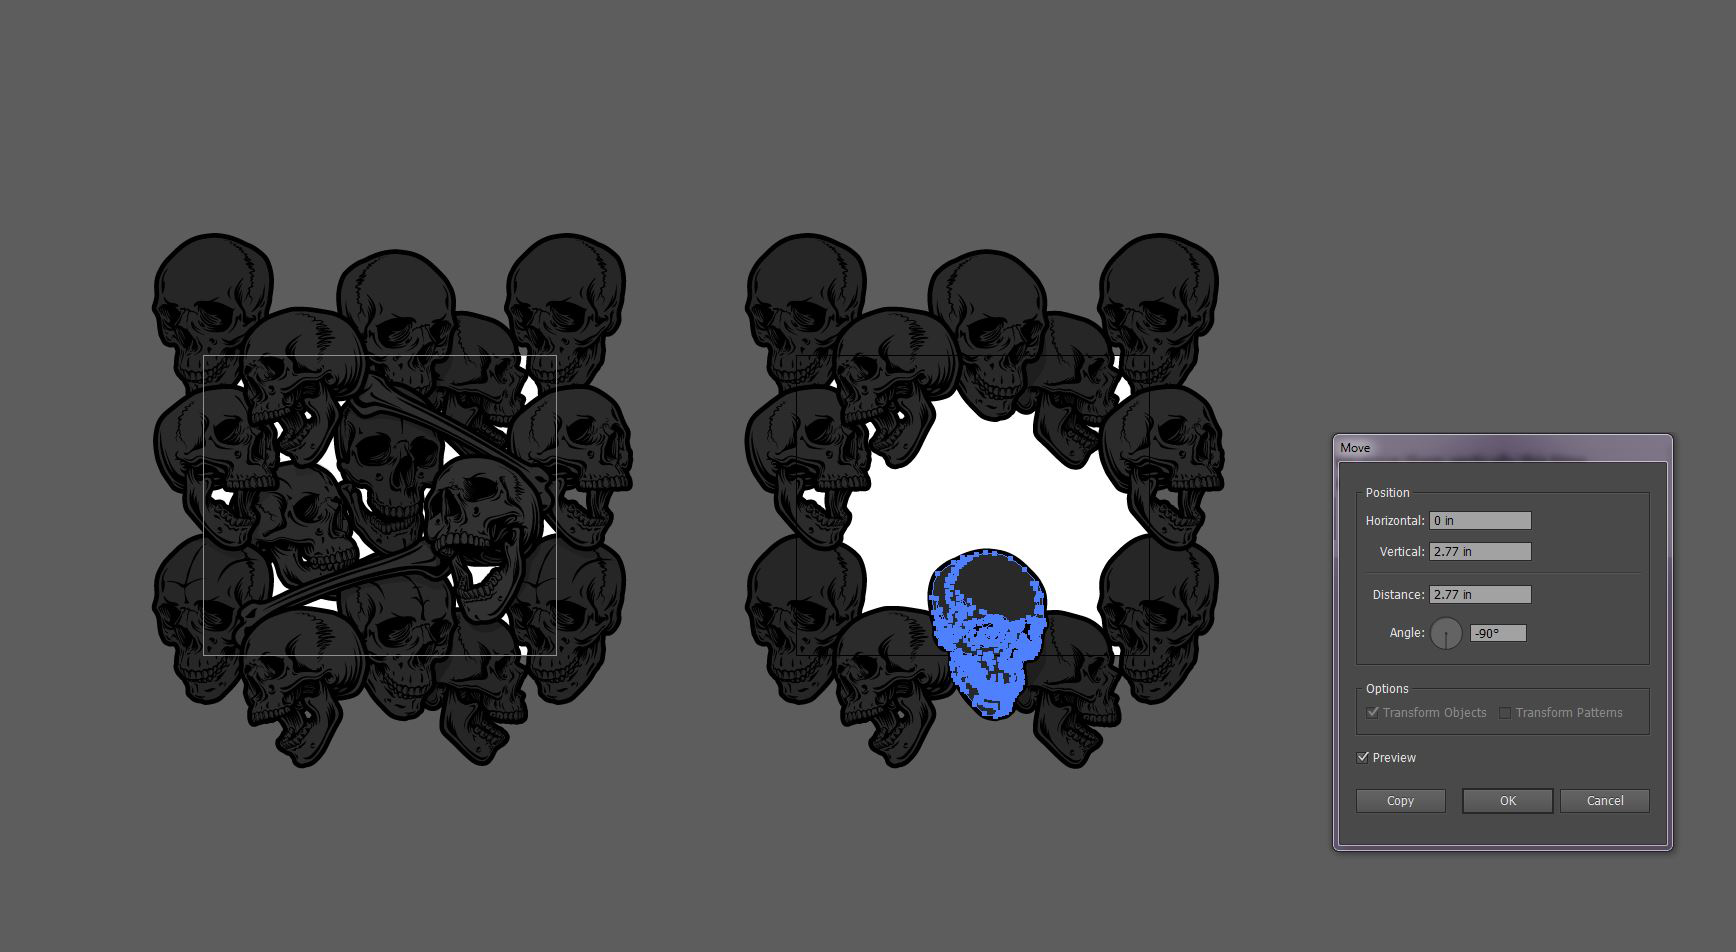
Copy both objects and paste them in place.
Then move them VERTICALLY this time. VERY IMPORTANT
(the height of the art-board) 2.77”
Now that you’ve created the corner elements, group all 4 of them. VERY IMPORTANT
This way when you move one “corner skull”, the other three will move with it the exact same distance and angle, etc.
Just remember that if you want to rotate a skull, you need to rotate each skull separately using the rotate panel. This way each skull rotates on its own center, not the center point of the group.

Once you have all the elements that overlap the edges of your artboard done, you can fill in the middle with randomly placed objects. (See Graphic #2)
When all your objects are in place, create a new color (dark grey or black) and call it “shadow”. Then start drawing in the shadows cast by each overlapping object. Then simply change each of those shadows to the appropriate transparency. In this illustration, I was careful to make the skulls in the background darker than those in the foreground. I could have taken it further by creating a “highlight” color and drawing in highlights. (See Graphic #3)
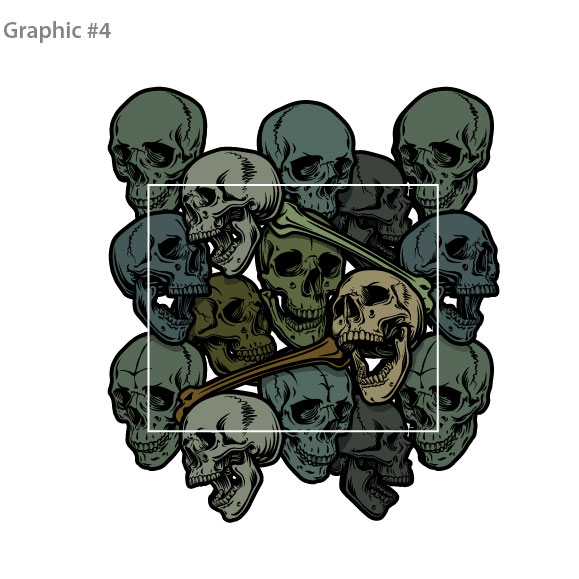
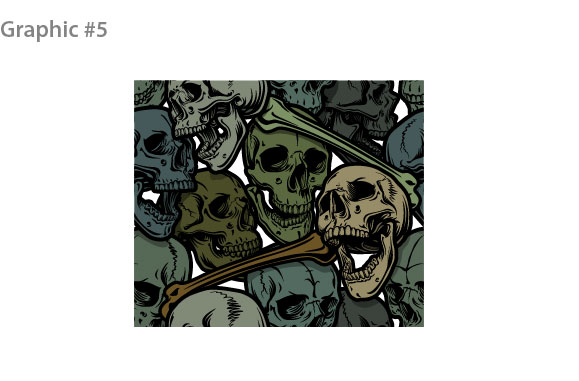
Here in Graphic #4 (below), you can easily see the edges of the art-board. In this case, I’ve drawn a rectangle the exact same size as the artboard and in the next step, I will simply paste all the artwork inside that rectangle. (Make sure it does not have a border.) (See Graphic #5 and #6)
When the design is complete, simply Save For Web
(Alt Shift Ctrl S) and select PNG-24 if it has spaces that are empty (transparent). When used as a repeating tile image in HTML, this allows you to select a background color for your web page, and that color will show through the design, between the skulls in this case. (See Graphic #6)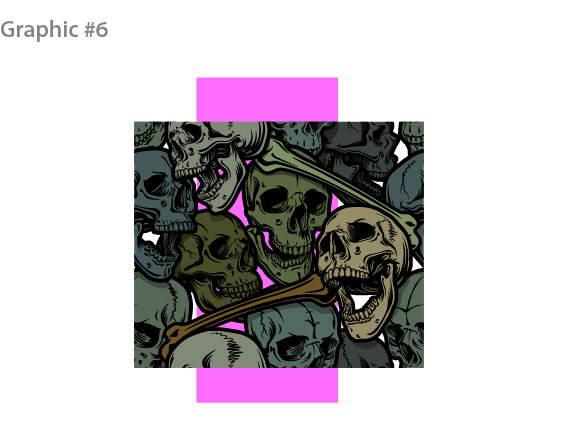
And here’s a sample of the finished product. Click the tiled image in action.
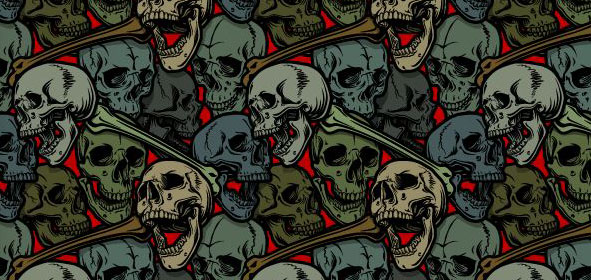
So, now that you know how to make a seamless pattern, you can get away from these skulls and illustrate your own designs.
Good luck and have fun!